Mesh/Uploading and wearing a rigged mesh
< Mesh
Jump to navigation
Jump to search
Revision as of 16:50, 28 September 2010 by Dan Linden (talk | contribs)
- Download simplebot.dae from http://jira.secondlife.com/secure/attachment/38659/simplebot.dae
- Open the Build menu, choose Upload, click 'Model...'
- Alternately, open the Inventory, click the + menu button and Upload > "Model"
- A file dialog box will open
- Pick the COLLADA file you downloaded from your computer.
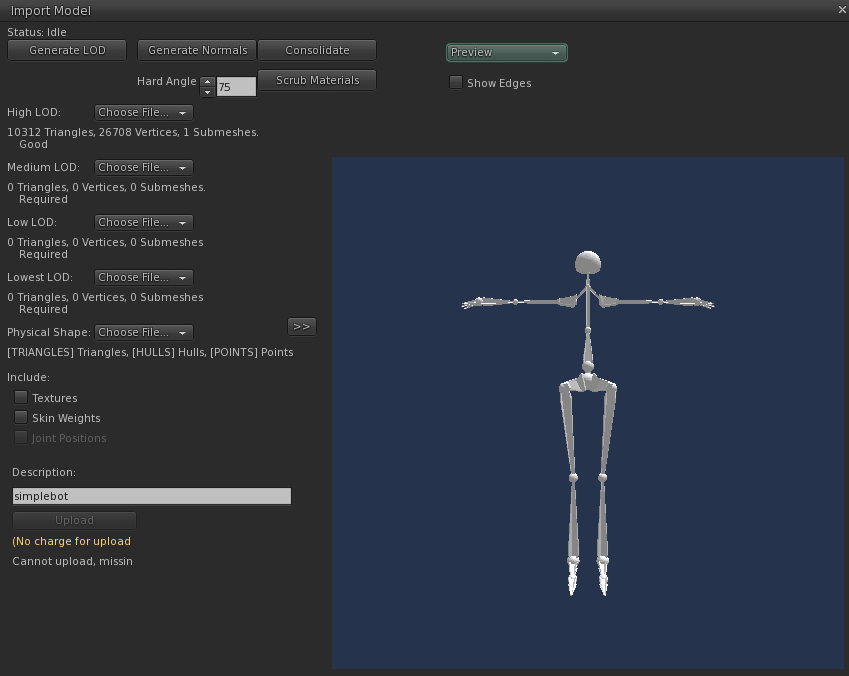
- The Import Model window will appear.
- Click the 'Generate LOD' button at the top of this window.
- The viewer will take a few seconds to process this, then the Upload button will become available to click.
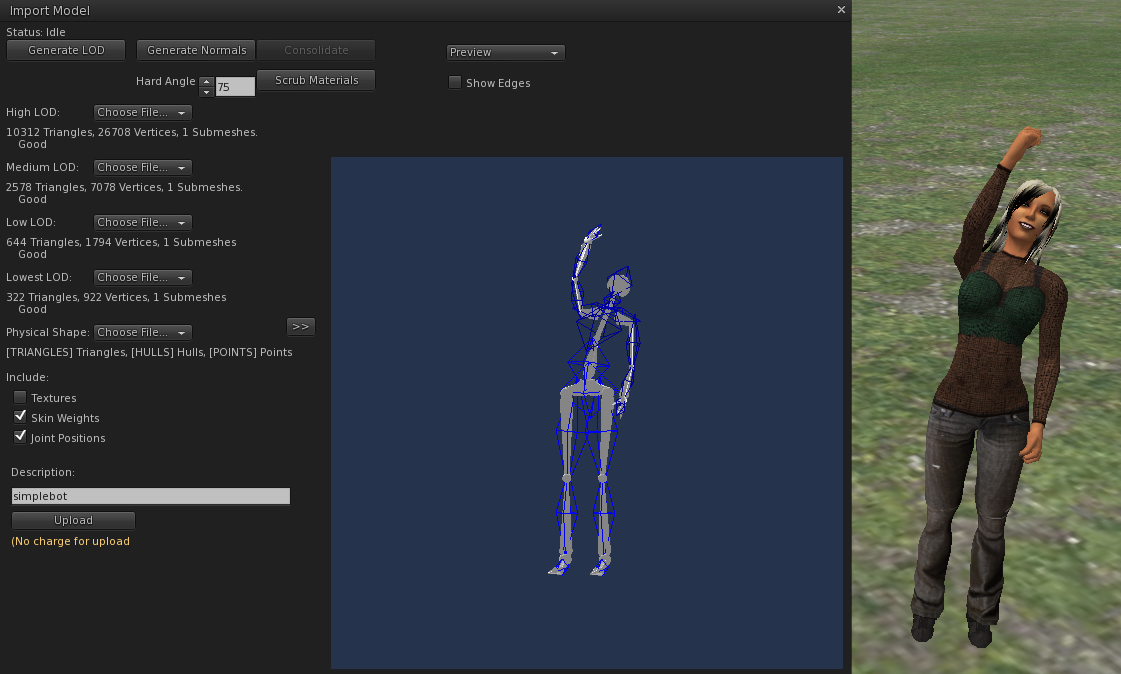
- Check the Skin Weights check-box. The viewer will take a few seconds to process this.
- Check the Joint Positions check-box. (Attaching a rigged mesh with joint positions will override the avatar skeleton joint positions and may make your arms/legs/back/neck longer/shorter, eyes pop out, etc.)
- Now the model in the preview window will animate if you walk your avatar around or play a gesture. You can zoom in on the preview window to see this better.
- Click the 'Upload' button.
- The viewer will take a few seconds to upload the mesh file.
- You will see 2 assets inserted into your Inventory. One will appear in the Meshes folder and one will appear in the Objects folder. We only care about the Object right now.
- Right-click the new object in your Inventory and choose Wear
- Your avatar will appear as a thin white robot.
- Walk or animate your avatar and you will see the white mesh animates just as you avatar did.
- When you are ready to take off the robot mesh, right-click the object in Inventory and click Detach.

