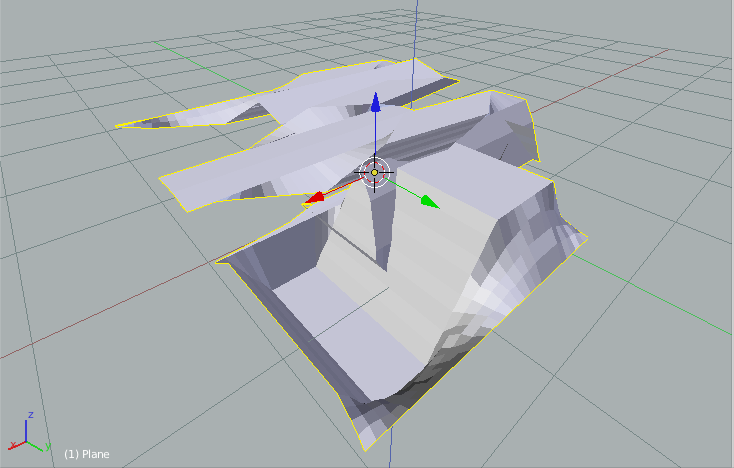
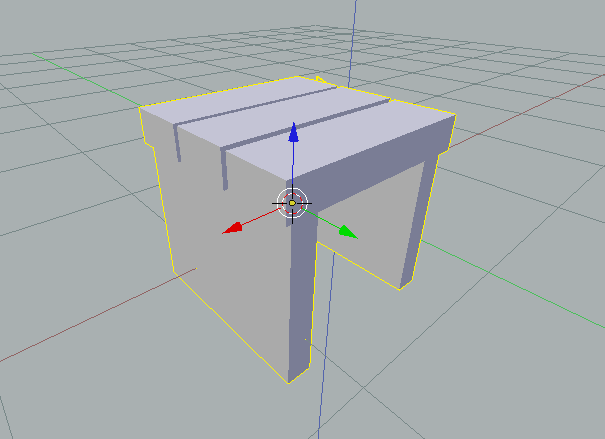
User:Toy Wylie/Blender/Import Sculpties
Import a Sculpt Map to Blender
I am using Blender version 2.63. This tutorial works only for 32 x 32 sculpt maps.
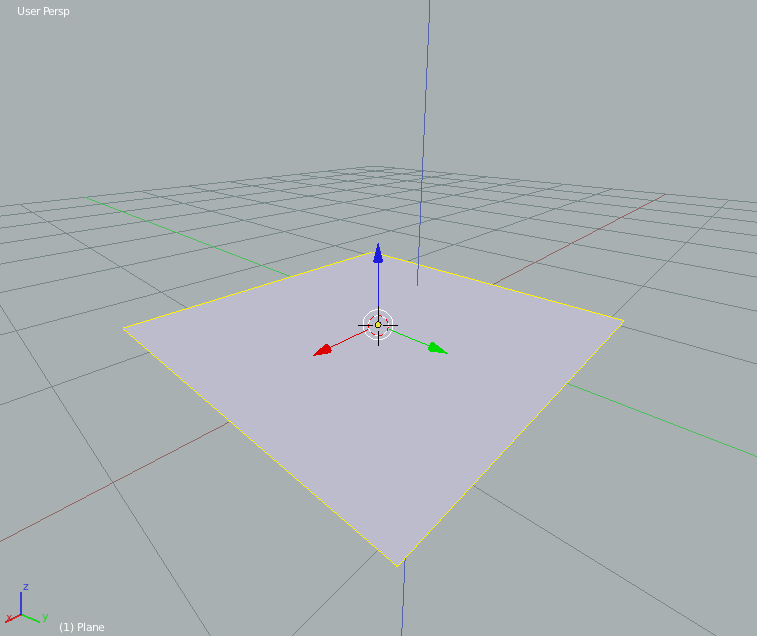
First, delete any objects in your scene by selecting them and pressing "x". Then press the "space" bar to add a new plane mesh,
Then press ALT+G to clear the plane's location, moving it to the center of your scene.
Press TAB to go into Edit Mode or use the combo box to switch.
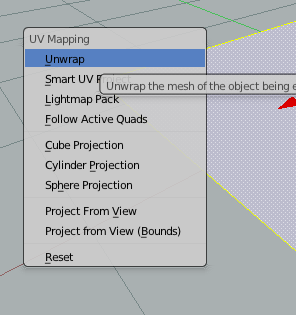
Press U and then U again to do a simple unwrap of the plane.
Press TAB to go back to Object mode.
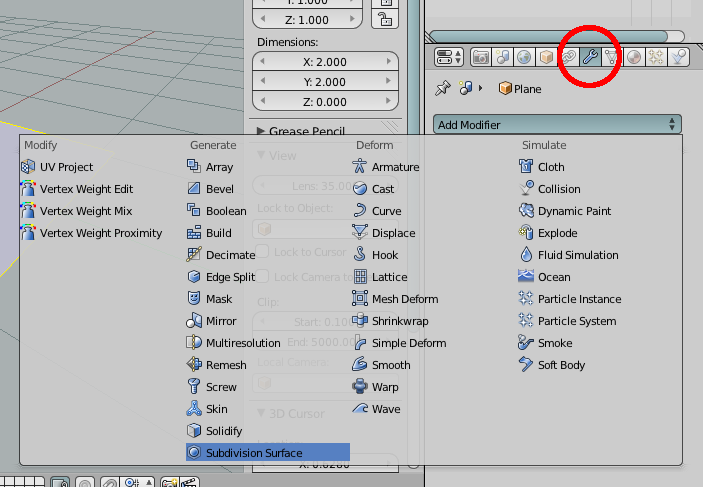
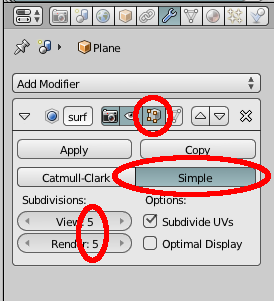
Next, add a Subdivision Modifier to the new plane.
Then set the modifier to 5 subdivisions, to split it into a 32 x 32 face mesh. Set it to "Simple" mode so it splits cleanly on straight lines. Make sure to check "Subdivide UVs" to cut the UV mapping into even pieces.
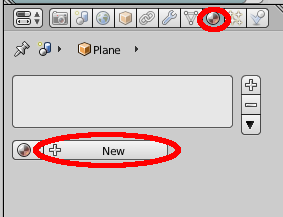
Add a new Material, this is only to get access to the Texture setup.
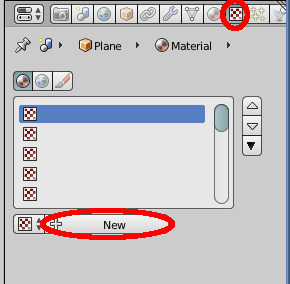
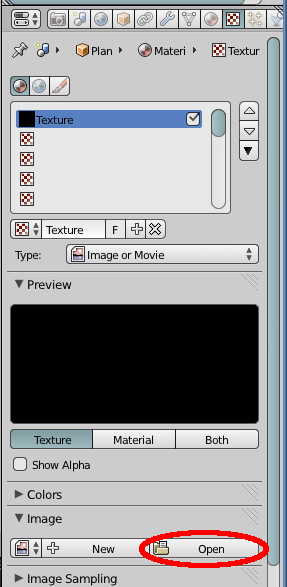
Add a new texture to your scene.
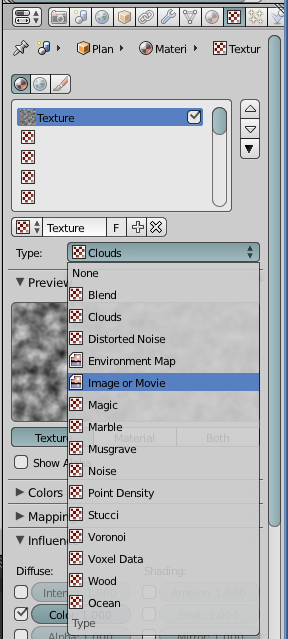
Set the texture type to "Image or Movie".
Open your sculpt map from your hard drive.
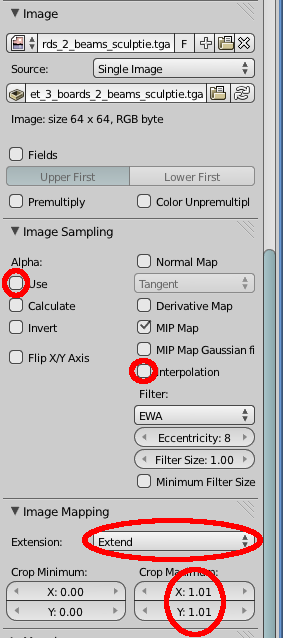
Uncheck "Use" for a possibly used alpha channel in the texture. Uncheck "Interpolation" to remove any softening being done on the sculpt map. Set the Image Mapping to "Extend" and you may have to set the Crop Maximum values to 1.01 if needed. You will see later if you have to or not.
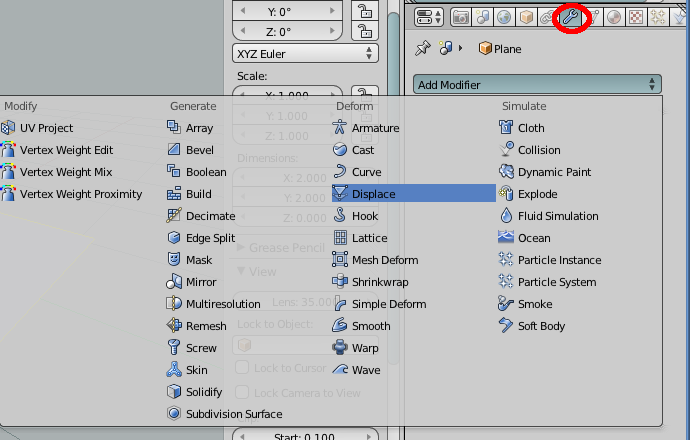
Add a Displacement Modifier to the new plane.
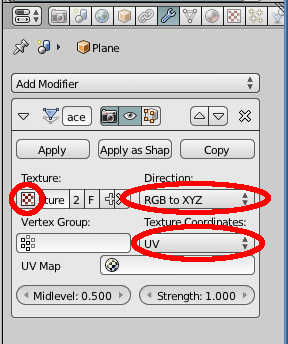
Choose your sculpt map from the texture list, set up the direction to "RGB to XYZ". Texture coordinates must be set to "UV".
This will result in a distorted mesh, but that can be corrected easily.
TAB into edit mode, select all vertices with "A". Then press "S" to scale and press "0" (zero) to make all vertices to be at the same point. This will make your object look correct. You might see slight distortions on the final object, where the vertices are placed at the edges of the map. Try adjusting the Crop Maximum values in your texture properties to get these sorted.
TAB back into object mode and choose "Apply" in your Displacement modifier. This concludes the import.
