User:Patchouli Woollahra/Lightwave Sculptie Rendering
Requirements
Any version of Lightwave with:
- gradient maps as a map type
- native UV mapping support
- Surface Baking implemented
is immediately usable to pull this off.
Modeler steps
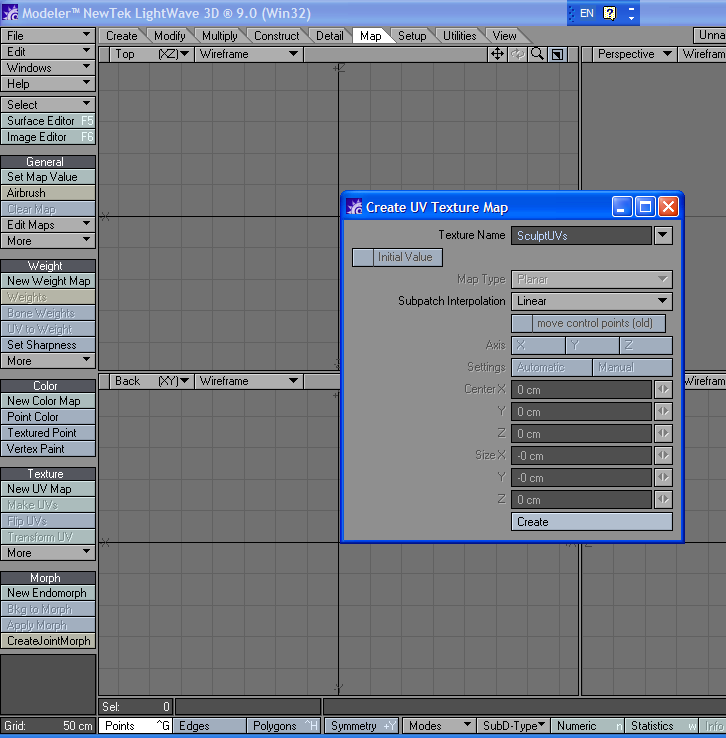
 First, create a UVmap and give it a name. It's not really important exactly what name you give it, but I call mine SculptUVs for expediency. Keep this UVmap selected while prepping the sculptie prim.
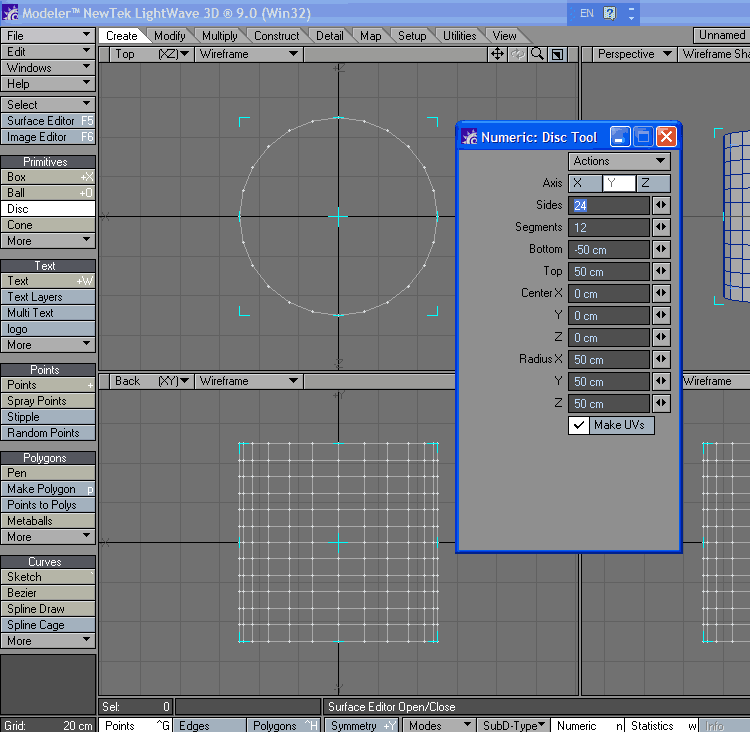
 Rez out a cylinder on the Z-axis, keeping its radius at 50cm on all sides, top at 5cm, bottom at 50cm, check "Make UVs" while doing this. Surface with a name such as SculptieMap or Sculpties to keep track of this)
Surface Baker unfortunately barfs on polygons with less than 3 or more than four polys. The endpolys of this cylinder will choke SB, so they need to be dealt within in one of three ways:
- Simply select the polygons and triple. This is relatively similar to how SL deals with the ends of the Sculptie cylinder, but is awfully ugly, and will cause problems if you intend to keep the object metanurbed.
- select the end polys and kill them. Out of sight out of mind - but if you're texture or occlusion baking you might have problems with the missing geometry as well.
- kill the end polys, then seize the top and bottom-most series of points and drag them inwards around the Y-axis.
This will produce a sculptie primitive that you can bake sculpty maps out of. But we're not done yet.
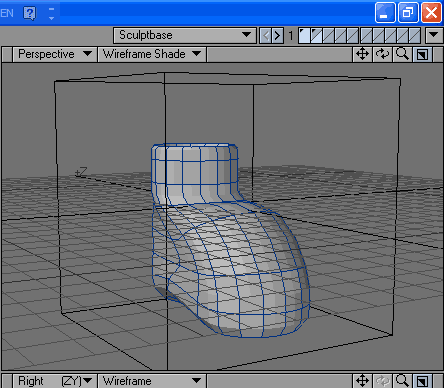
In another layer, Create a default cube (or via these specifications) Image:Bounding-Box-params.png This cube will be 1m x 1m x 1m, and it will be used as a bounding box to check prior to rendering a sculptie map that we do not have any geometry outside the 1m range on any axis. (such geometry will 'white-out' on at least one channel in the resulting sculptmap. This may be what you want but for most purposes it is not.)
Image:Resulting-SculptieGenerator.png Save the resulting object as a LWO file to be safe, and then create a copy to work on whenever you need a sculptie. I would suggest creating an endomorph or morph map ( depending on your version of Lightwave) and working with this instead using non-destructive modelling tools such as move, rotation and translation tools in Modeler.
 (This is the example I'm knocking out, saved in the LWO as a endomorph. Now in general, using a single prim to build an object means you will have very simple, or very lame objects. But I'm demoing only, so this wellie thingy will do.
When you're ready to generate sculptmaps, save the LWO again, and bring it into Modeler.
Layout Steps
Positioning
Rez out a null in the exact centre of a fresh scene file. I usually call mine "SculptieRef" but you can call it anything you like as long as you can remember it. Load up the cylinder/plane/whatever you built up in the end. position it in such a way that none of the points on the sculptie object cross any of the XY, YZ or XZ planes in world.
- This step is important as Lightwave unfortunately does not have a way of surfacing a object based on distance AND direction from any object right out of the box.
Surfacing
Go into the Surface Editor and create the following three layers in the surface for the object:
- Set the surface of the sculptie to 100% luminosity, 0% diffuse, 0% specularity. Use pure black (0,0,0 RGB) for the surface as a base.
- Gradient, X Distance To Object, specify the 'sculptieref' null as the reference point, and set the gradient up with pure black at 0m and R:255 red at the other end of the gradient (your preference for what size you want to work on the sculptie at will determine this comfy region. Set this layer to blend in 'Add' mode.
- Gradient, Y-Distance To Object, same null as reference point, gradient with pure black at 0m and pure green (0,255,0) at the other end of the gradient, across the same distance as the first gradient. Set this layer to blend in 'Add' mode.
- Gradient, Z-Distance To Object, same null again as reference point, gradient as with the last two except using Pure blue (0,0,255) on the far end of the gradient, additive blend as well.
- Add a 'Surface Baker' shader to the sculptie surface as well. Configure it to bake out only the color, and only to a 64pixel-wide square, in order to save time when rendering the sculpture map.
What the four layer surface I specified above attempts to create an approximate RGB blend in the manner that Sculpties require to define their shape. The baker is added in as a final step to capture the resulting fake sculpture map that will be generated by the multilayer surface.
Exporting the map from LW
Ensure that you're rendering on only one thread (LW hates multithreaded renders unfortunately) and rendering as small a frame as possible (The render is irrelevant when generating sculptie maps). As part of the render process, the system will save out the baked map to the location and filename as specified in Surface Baker. Take the resulting output from Surface Baker and upload it into Second Life as per a normal image file, apply as a sculpture map to a sculptie. Serve with scripts/bling/physics as required by your build.
- NOTE: Occasionally, you may find that a sculpture map generated by this method accidentally produces a sculptie that is turned inside out... if this occurs, flip the sculpture map horizontally in a image editor and use that resulting flipped image instead.