Difference between revisions of "Hair"
m (Corrected Hierarchy of Sections) |
m (→User Guides: prepare to move user guide to seperate page) |
||
| Line 18: | Line 18: | ||
=== User Guides === | === User Guides === | ||
<onlyinclude> | |||
To use this you'll need [http://www.adobe.com/downloads/ Adobe Photoshop (download)]. | To use this you'll need [http://www.adobe.com/downloads/ Adobe Photoshop (download)]. | ||
| Line 167: | Line 168: | ||
Tanker Price for layout & information. | Tanker Price for layout & information. | ||
</onlyinclude> | |||
Revision as of 14:03, 27 February 2010
Feature Design Document
Hair is a Body Part. It cannot be taken off, but can be replaced by a different hair body part. Many people choose to wear Attachment hair that covers or enhances the normal hair.
Functional Spec
(none)
Test scripts
(none)
Discussion for future improvements
(none)
Relationship to other features
List of features that need to be tested when this feature changes, and why.
(none)
User Guides
To use this you'll need Adobe Photoshop (download).
This is a basic hair guide that should help just get started.
You should know a little about Photoshop first but if you don't you can find Videos on this subject on You Tube under "Second Life Tutorial Hair"
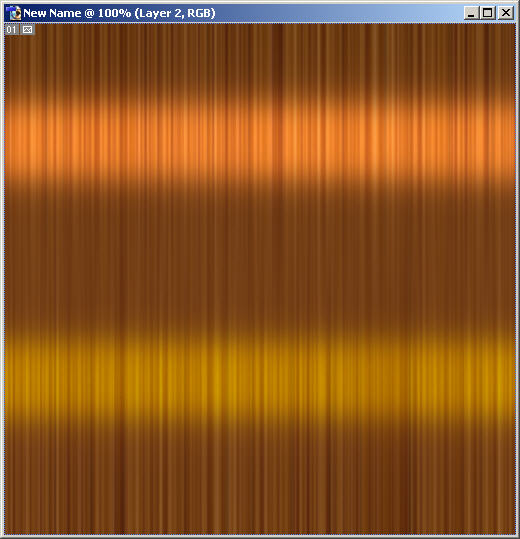
This guide has 3 colors and starts with the Dark color first then the next one and then a highlights at the end.
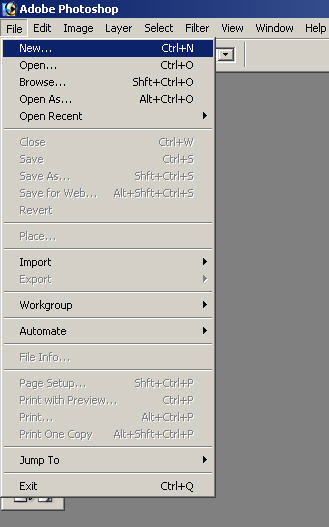
Step 1. New File
Start by opening a new file
-File
-New (file name)
Set to : 128x128 or 512x512
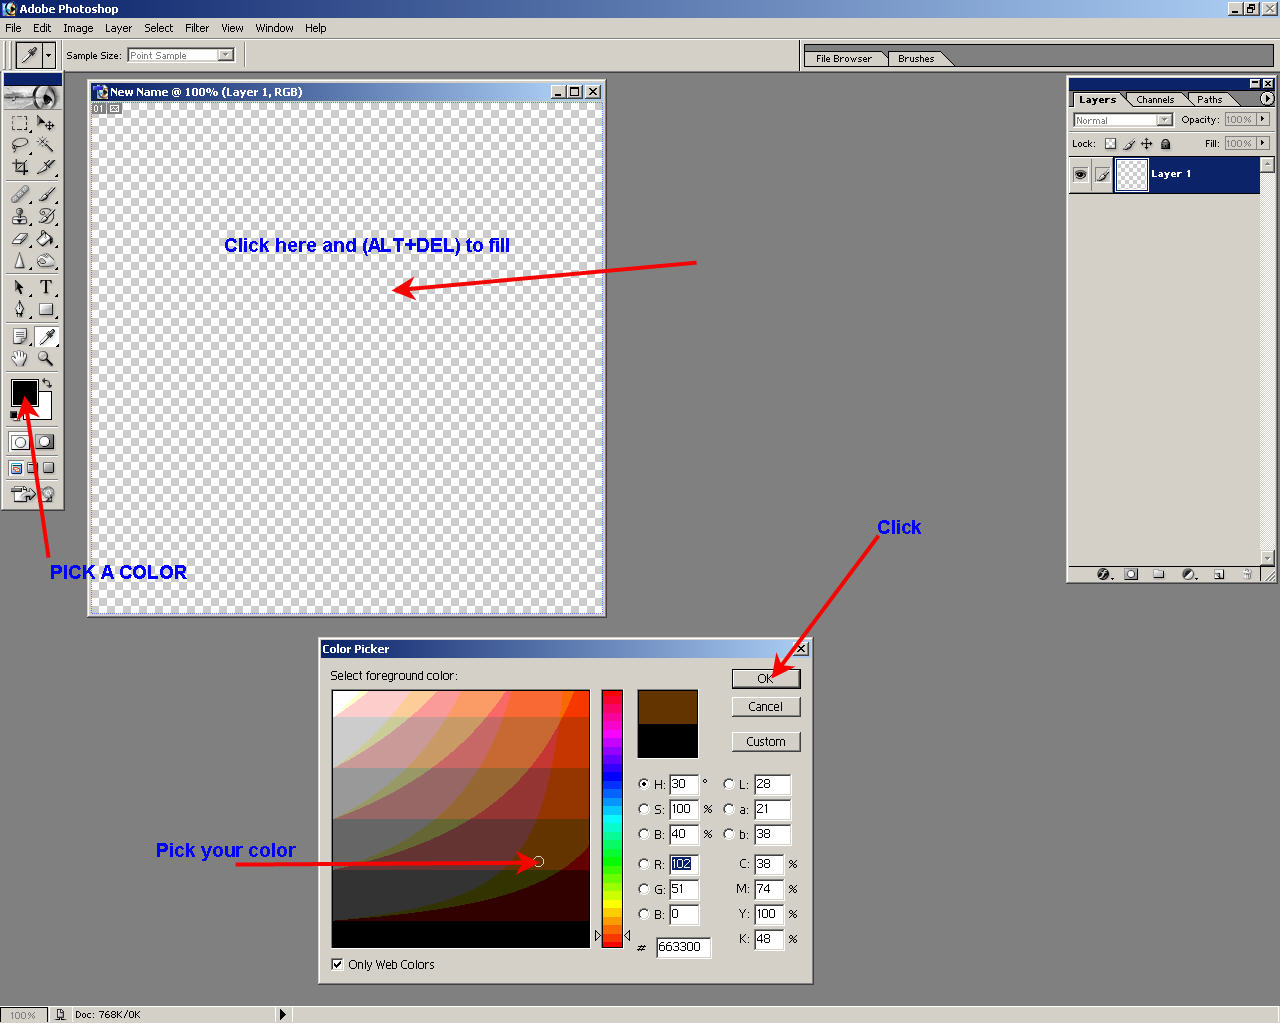
Step 2. Color Area (fill)
Pick you DARK color first. Like Dark Brown.
Go to the new box and fill the area by hitting (ALT+DEL) to fill the new box with your color.
Step 3. Brush
Get a Brush that is Soft like #35
![]()
Step 4. Brush Color
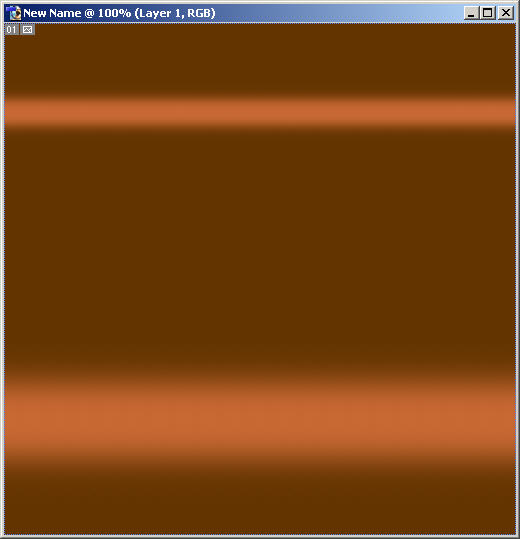
Pick you next color for your brush. (yellow or Mustard Yellow)
(hold down the SHIFT key at the same time to draw a strait line).
Paint 1/3 down from the top of the box. Use the mouse and swipe the color from Left to Right and holding the SHIFT KEY.
Change Brush size to Soft like #17 (change Color to Bright Yellow)
Paint at the lower 1/3 of the box from Left to Right.
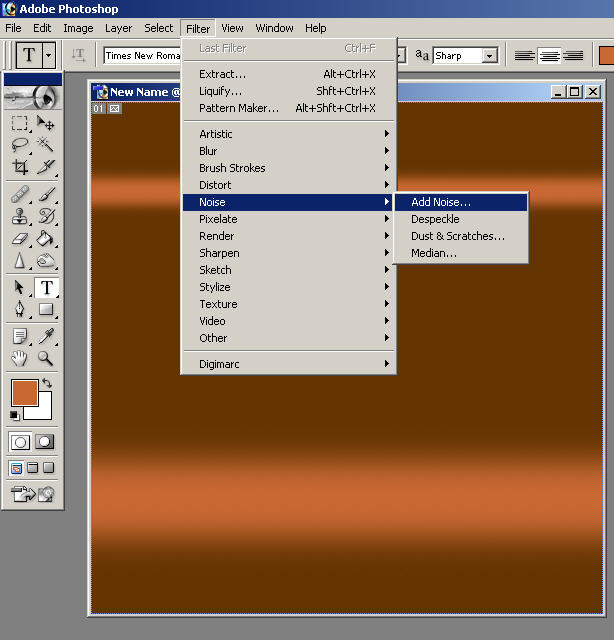
Step 5. Noise Filter
-Filter
-Noise
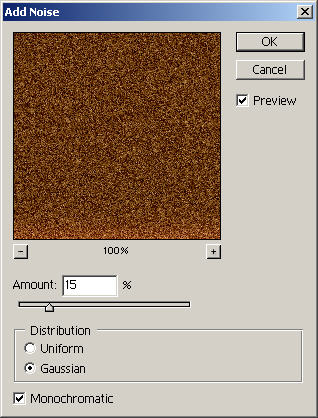
-Add Noise
Distiribution (15.0%)
[x] Gaussian
[x] Monochromatic
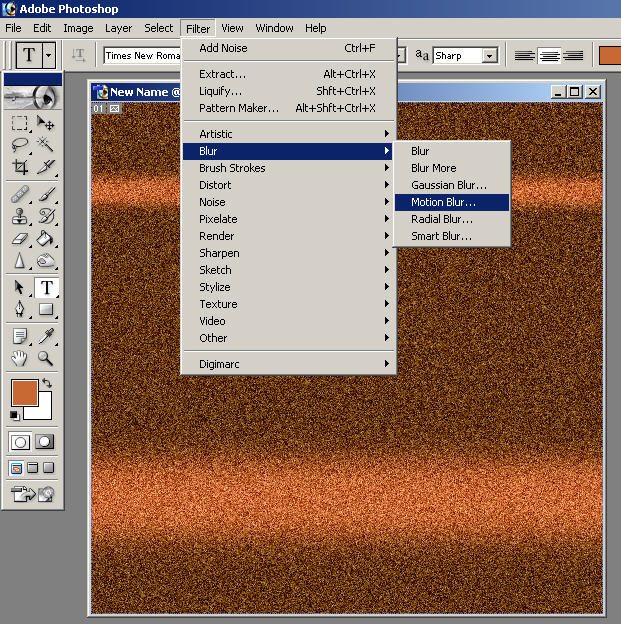
Step 6. Blur Filter
-Filter
-Blur
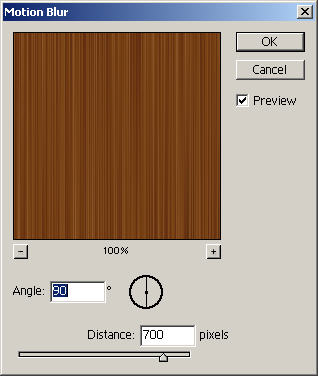
-Motion Blur
90º
700 Pixels
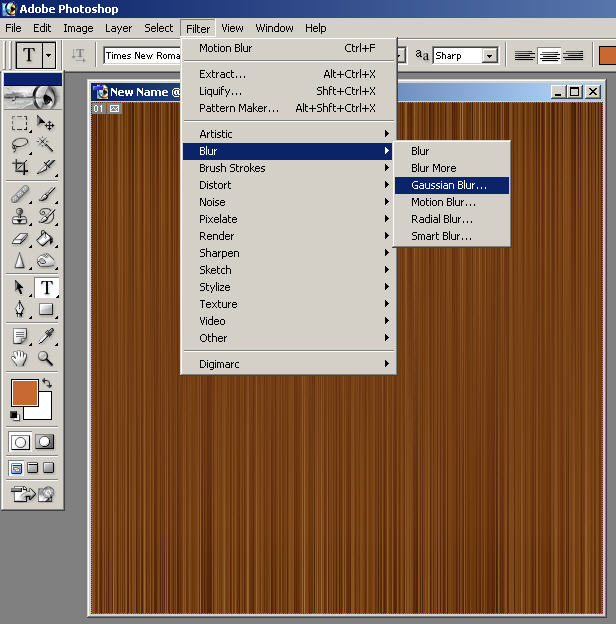
Step 7. More Blur
-Filter
-Blur
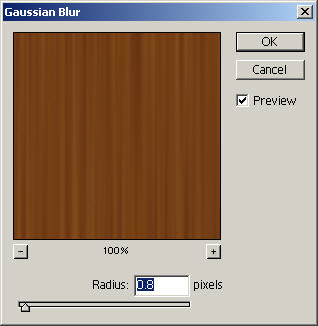
-Gaussian Blur
Soften the photo or not it up to you. Play with it to get your needs.
0.8 or 0.9
Step 8. Highlights
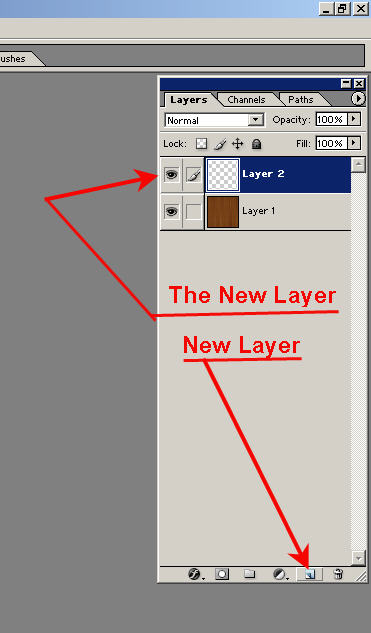
Now you need a new Layer on put on TOP.
The menu on the right that has your layers in it.
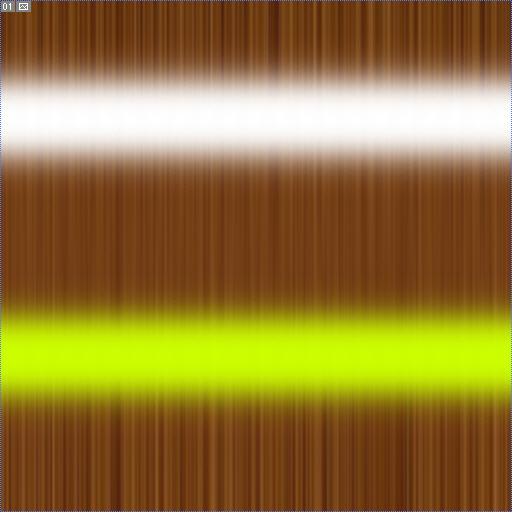
Step 9. Highlight Brush
Get New Color for brush (white or yellow)
Brush Soft #17 on top 13 left to right and then Soft Brush #35 bottom 1/3.
-Note:
You may change any brush size you want to and you don' have to stay to the 1/3 from the top or bottom.
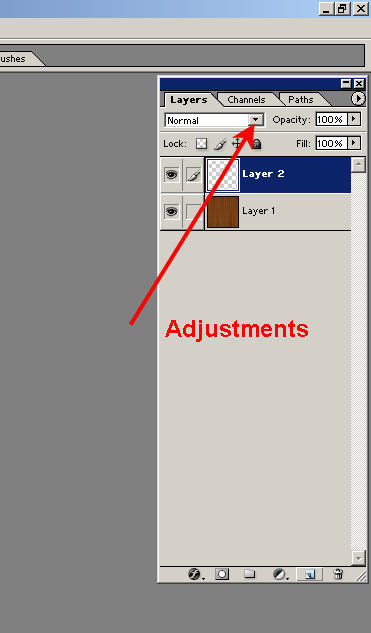
Step 10. Adjustments
The menu on the right.
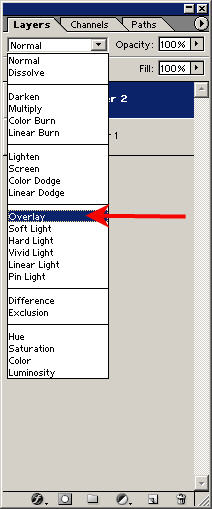
You should see it say [normal]
Change to [overlay]
You can change the brightness of the highlight with the Opacity [100%]
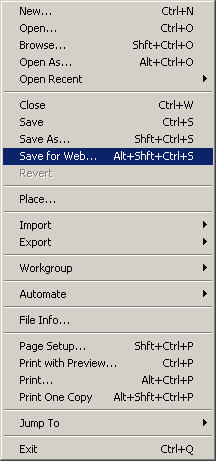
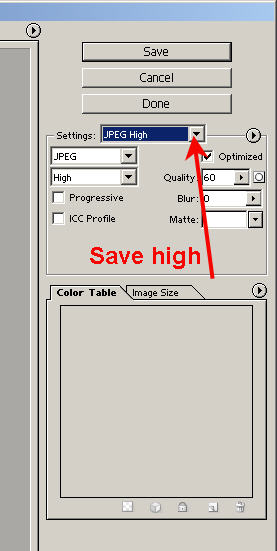
Save your work.
Also save as .PSD or PDD file so you can change your file later.
If you find that you need more help or you are haven a hard time following the guide [You Tube] has lost of help with Second Life Videos.
Thanks to everyone that help.
Aamic Zhong for all the photos
Tanker Price for layout & information.
